
PLEASE LEAVE A REVIEW!
To help give context to others and to help increase our google presence so more people can easily find good value E-bikes for their visit to Perth or Rottnest Island, please leave a review at THIS LINK

Key battery release E-Bikes (Stepthrough, Diamond and Fat Bike)
All other E-bikes from RideOnE that are ferry compatible have a good old fashioned key release battery.
As-in, you insert and turn a key to relase the battery.
This makes handling a little simpler, but less luxurious than the Roadster.
Please note, due to recent ferry company limitations, Fat bikes are no longer Ferry compatible.
POWER UP
To power up the a Key Release Battery E-Bike (Stepthrough, Diamond and Fat Bike), Insert the battery into the battery dock until it clicks into plase and remove the key from the lock.
DIAMOND AND STEPTHROUGH
Press the power up button on the handbar controller for 3 seconds
FAT BIKE
Press teh power button on the top of the battery then press the 'M' button on the handbar controller for 3 seconds
The status indicator on the handlbear display will illuminate
The LCD screen will indicate teh power level and battery status
The motor will add power to your ride as you spin the pedals relative to the power level, which can be toggled with the arrow keys UP and DOWN on the handbar controller.
REMOVING THE BATTERY
To remove the battery, simply insert the key into the lock. Rotate the key in the lock while pulling on the battery chassis away from teh frame to remove it from the bike.

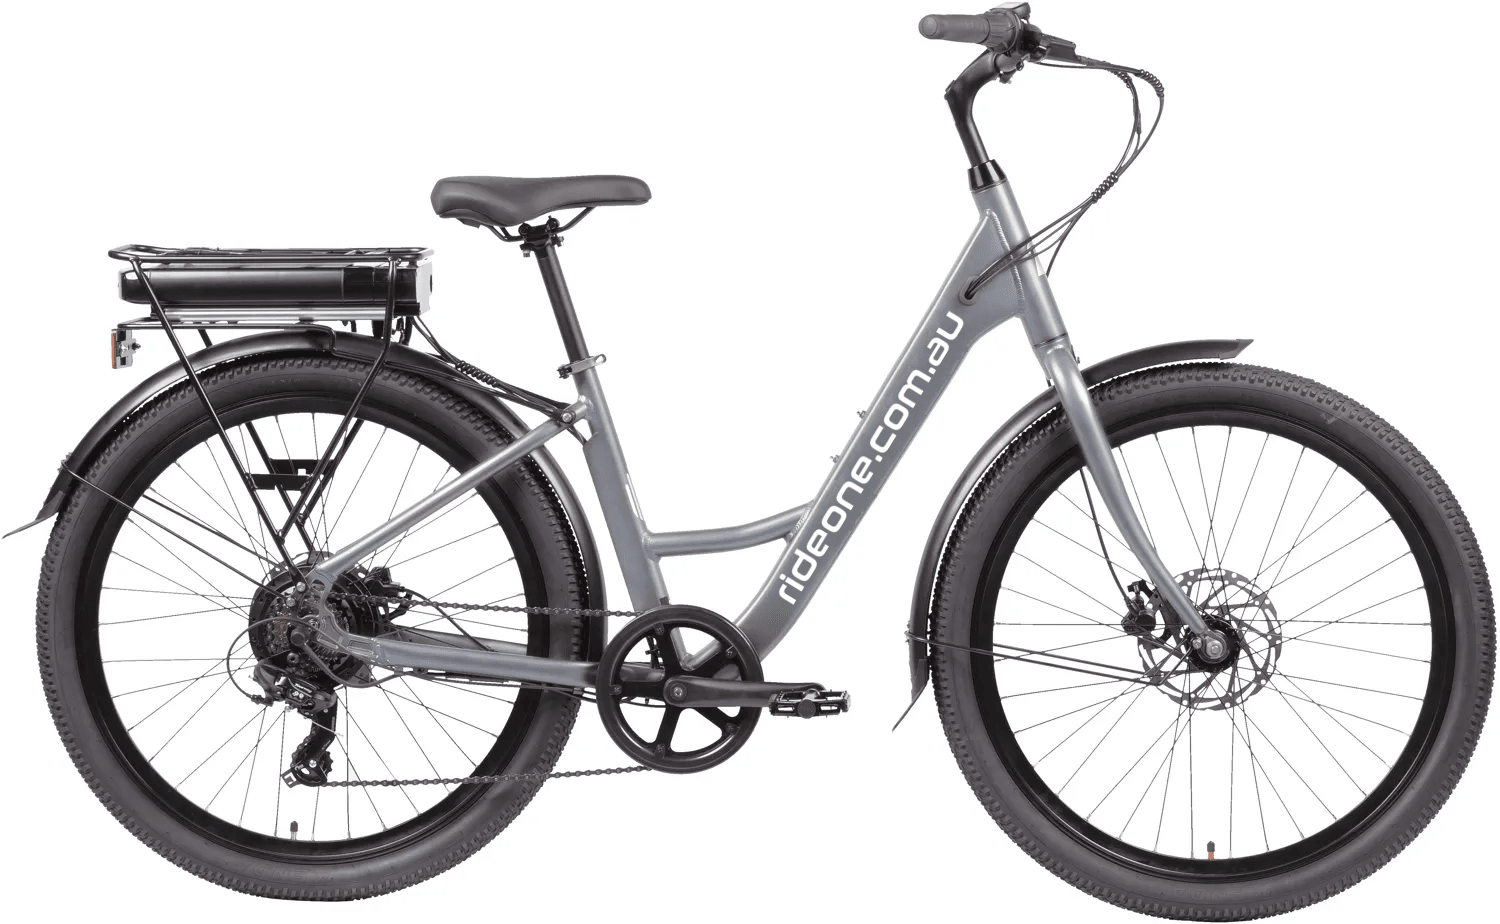
Roadster cruiser
The Roadster cruiser is a luxury comfort E-bike with a GPS digital alarm and a removable battery for easy charging and for compatibility with the Rottnest Island Ferry services.
It is secured with digital lock that is deactivated when the bike is powered on.
When powered off, or when the alarm is active, the battery is locked in place.
POWER UP
To power up the Roadster, insert the battery, rotate counter clock wise until it locks into place.
Press the top button with the power indicator icon on the handbar controller for 3 seconds.
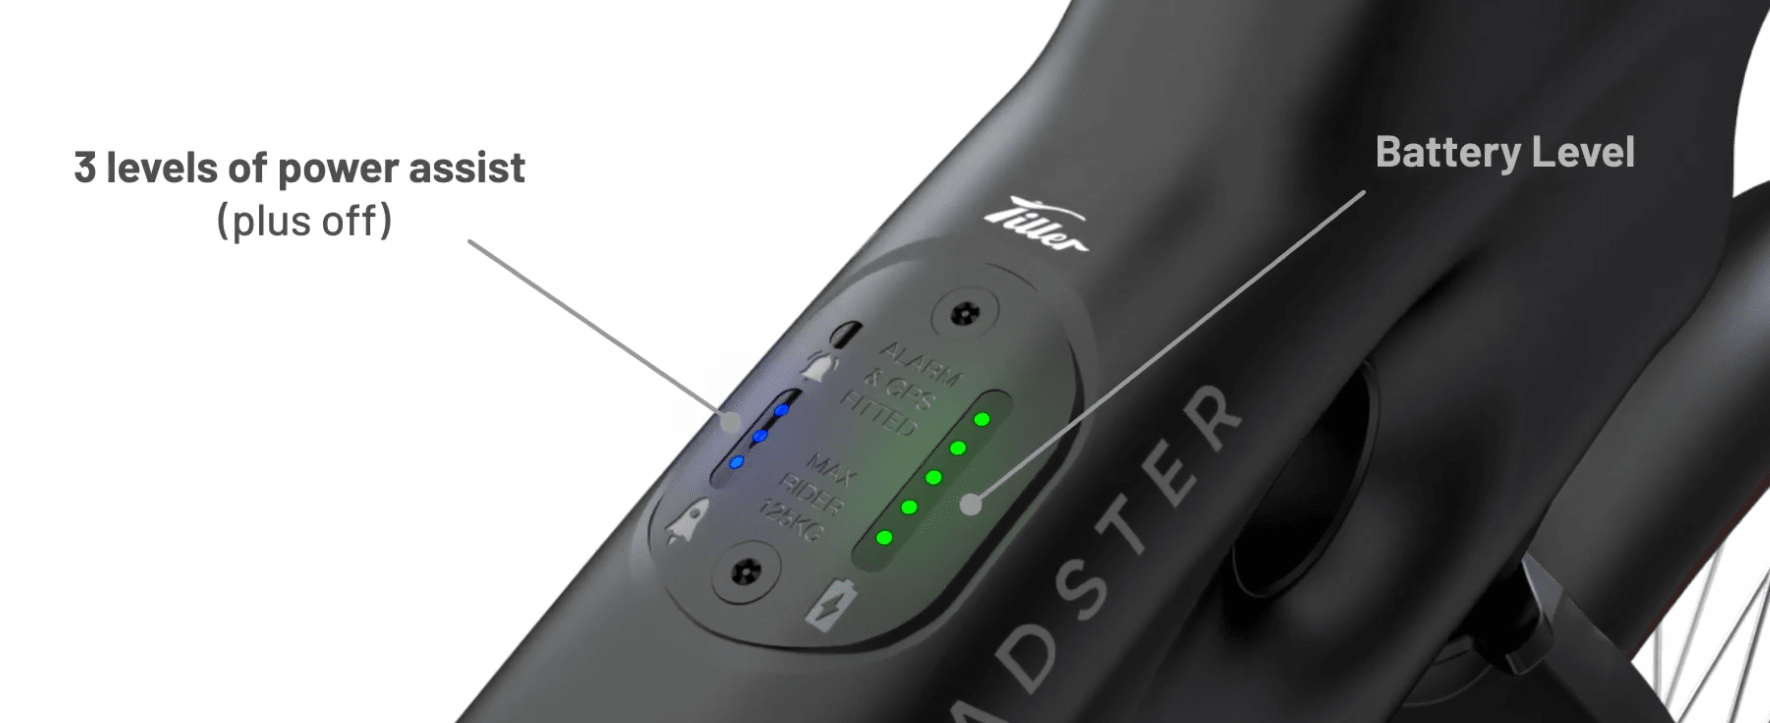
The status indicator on the center frame display will illuminate
The GREEN LED stack indicates the battery level
The BLUE LED stack indicates the power level currently selected
The motor will add power to your ride as you spin the pedals relative to the power level, which can be toggled with the arrow keys UP and DOWN on the handlebar controller.
ARMING ALARM AND LOCKING THE CABLE
To lock the built-in cable lock into the frame lock, pull the cable out of the frame cavity from behind the seat post, thread it around a post or through the back wheel and into the frame dock.
Press and hold the BOTTOM button on the handlebar controller for 3 seconds to lock and ARM the alarm.
DISARMING THE ALARM AND UNLOCKING THE CABLE
To disarm the Alarm and release the lock cable, enter the unlock code on the handbar controller using the following input method
TOP BUTTON - POWER ICON = 1
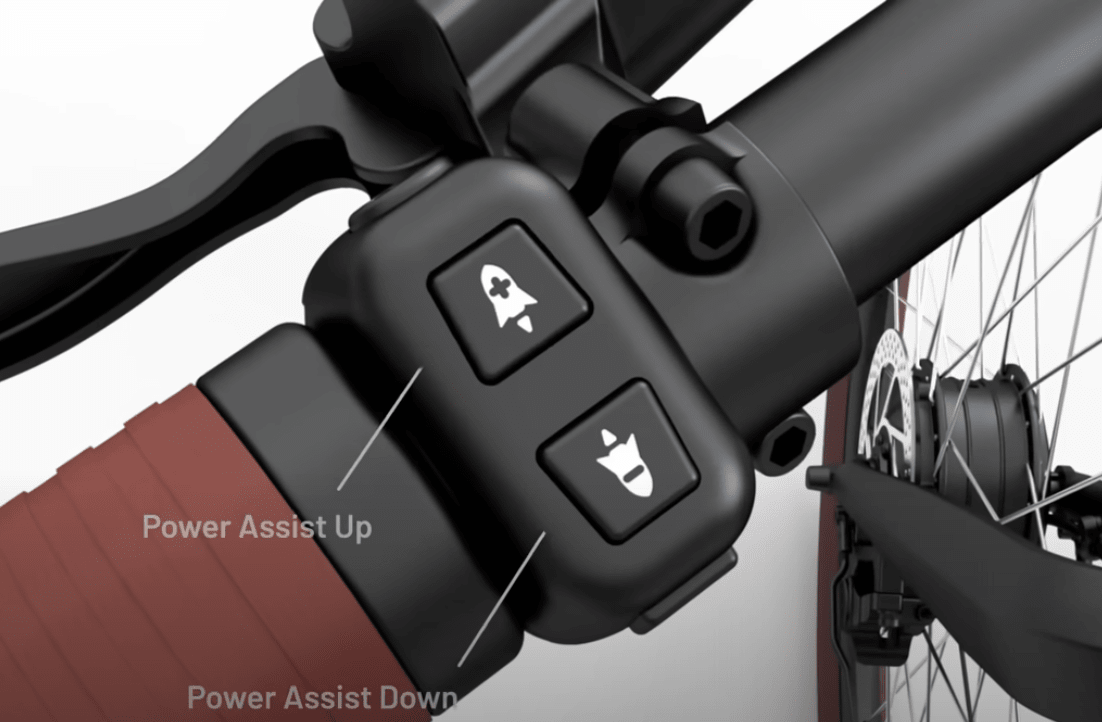
POWER ASSIST UP BUTTON - PLUS ICON = 2
POWER ASSIST DOWN BUTTON - MINUS ICON = 3
BOTTOM BUTTON - HORN ICON = 4
The lights on the the status indicator on the center frame display will illuminate.
REMOVING THE BATTERY
When the bike is in a 'Ready' state, unlocked, disarmed and ready to ride, the battery can be removed by pressing the locking pin on the top of the battery down and rotating the battery clock-wise, then pull it away from the bike to remove.